
How to Get Better Light for Your Food Videos
If there’s one thing that can instantly change the look and feel of your food videos, it’s lighting. You can have the most beautiful recipe, the perfect styling and the fanciest camera in the world, but if your lighting is flat, harsh or inconsistent, your content can still fall short. The good news? You don’t need a professional studio to create beautiful food videos.
Whether you’re shooting with an iPhone, smartphone or camera, understanding how to work with natural and artificial light will make a huge difference to the quality of your content. And before you rush out to buy a load of expensive equipment, there are a few things worth understanding first…
This post contains affiliate links which means I make a small commission on any purchases made through those links, at no additional expense to you. This helps support my business and provide you with content like this!
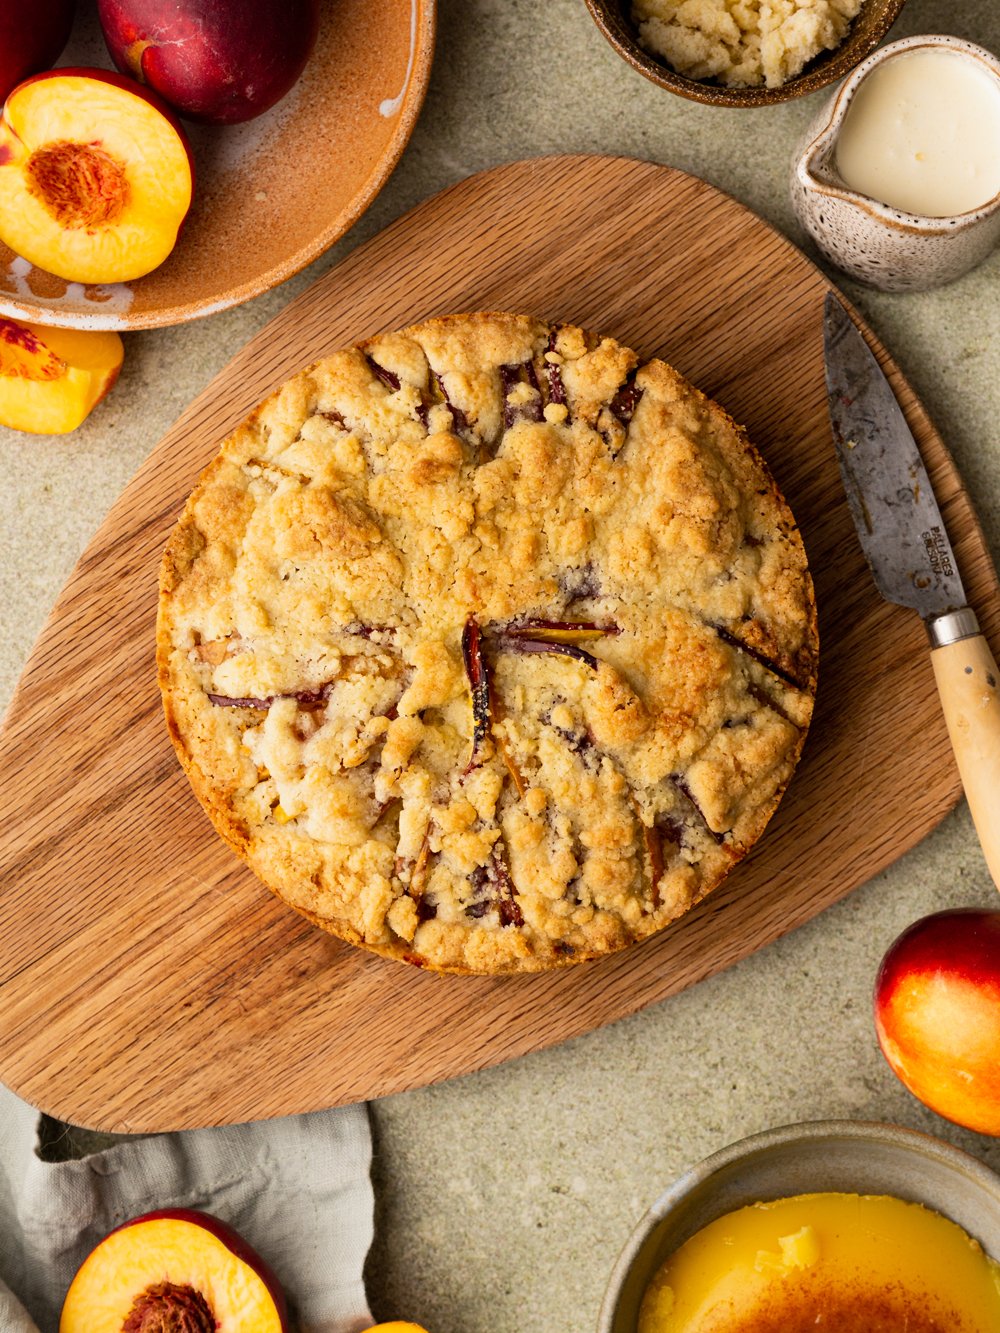
Shot with Artificial Lighting
Natural light vs artificial light: which is better?
The short answer is: neither is necessarily better. Natural light can be beautiful, soft and flattering, while artificial lighting gives you much more control over when and how you shoot. The best option for you will depend on your space, your schedule and the look you want to create. If you're just starting out with food photography or videography, I’d recommend learning how to work with the natural light you already have before investing heavily in equipment. Once you understand how light behaves, artificial lighting becomes much easier to use, because you're not simply turning a light on and hoping for the best.
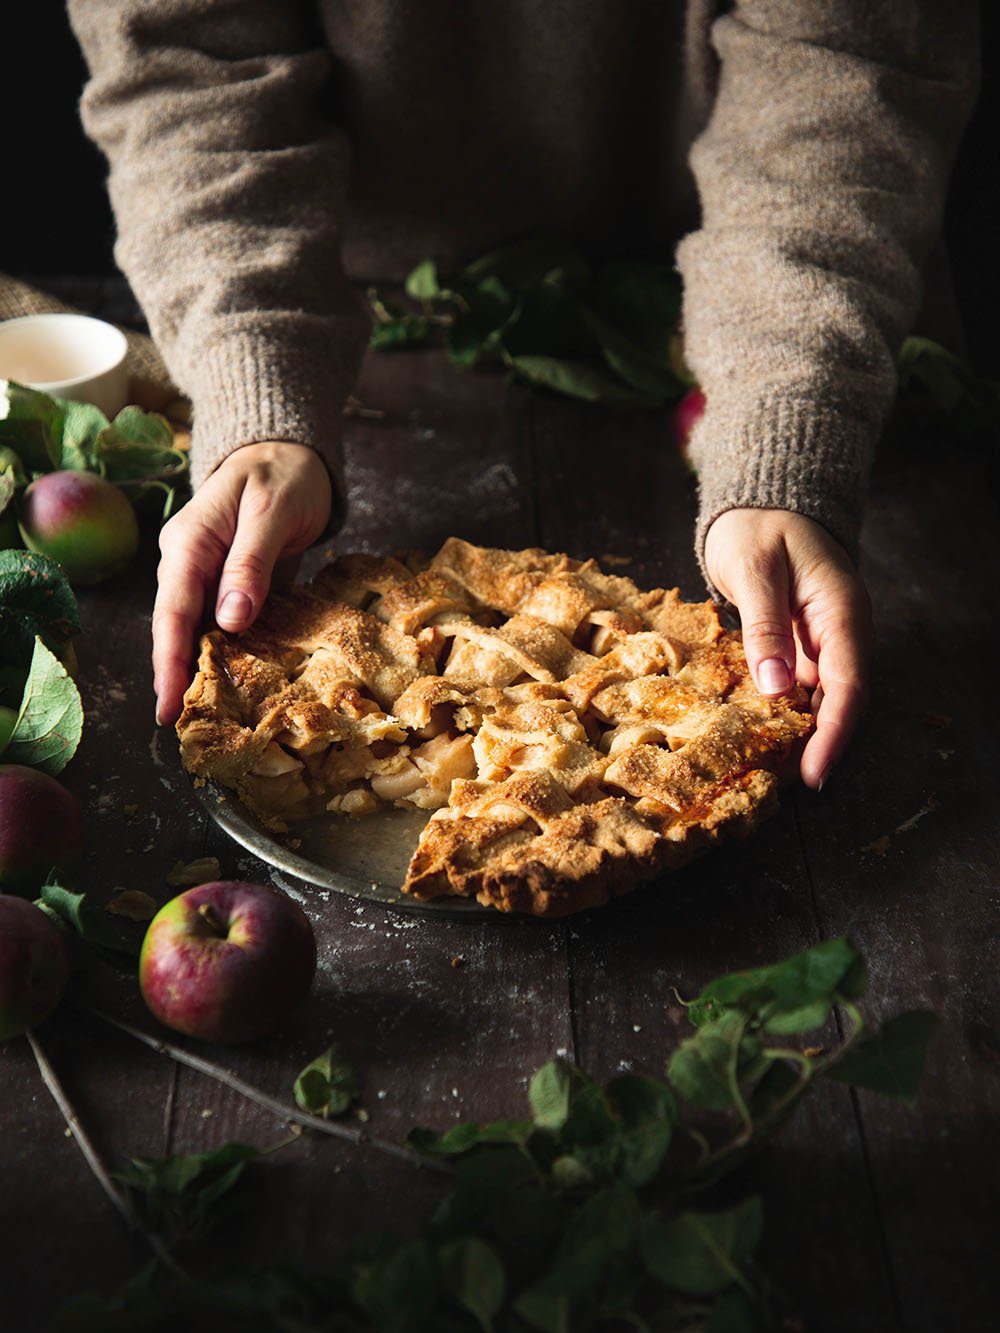
Shot using Natural Light
How to use natural light for food videos
Natural light is one of the easiest places to start. A large window can give you beautiful, soft light without needing a single piece of specialist equipment. But there’s a little more to it than simply putting your food next to a window.
1. Get closer to your light source
As a general rule, the closer you are to your window, the more useful the light becomes. Try setting your filming area relatively close to a large window and experiment with moving your subject around the space. You may find that moving your table just a little can completely change the look of your footage. The important thing is to observe the light rather than simply accepting whatever happens to be falling onto your set.
2. Think about the direction of the light
Where your light is coming from can completely change the mood of your video. Light coming from the side can emphasise texture and dimension, which can be particularly beautiful for food. Light coming more directly towards your subject can create a brighter, cleaner look. And light coming from behind can create gorgeous highlights and atmosphere (although it can also make exposure trickier). There isn't one "correct" direction. The trick is learning which direction works best for the story you're trying to tell.
3. Watch out for harsh sunlight
Direct sunshine can sometimes be too intense for food content. You might end up with very bright highlights, deep shadows and areas of your scene that are difficult for your phone or camera to expose correctly. If your window gets strong direct sunlight, try experimenting with a sheer curtain or diffuser to soften it. You can also move your setup slightly further into the room. Small changes like this can make a surprisingly big difference.
What to do when you don't have good natural light
This is where artificial lighting can completely change your content creation routine. If you work in a dark kitchen, film after work, live somewhere with unpredictable weather or simply want consistency from one shoot to the next, artificial lighting can be a game changer.
The biggest benefit? You are no longer relying on the sun. Instead, you can create your own lighting environment and have much more control over your filming conditions. But this is also where many creators make the mistake of thinking they need a complicated setup. You don't.
Start with one good light
You don't necessarily need multiple lights to create beautiful food videos. A single continuous LED video light can be a great starting point.
Look for a light that gives you:
Adjustable brightness
A good amount of light output
Consistent colour
The option to diffuse or soften the light
A stand or mounting option that works with your filming setup
Browse my Artificial Lighting Kit
The light itself is only part of the equation, though. What you do with that light is arguably much more important.
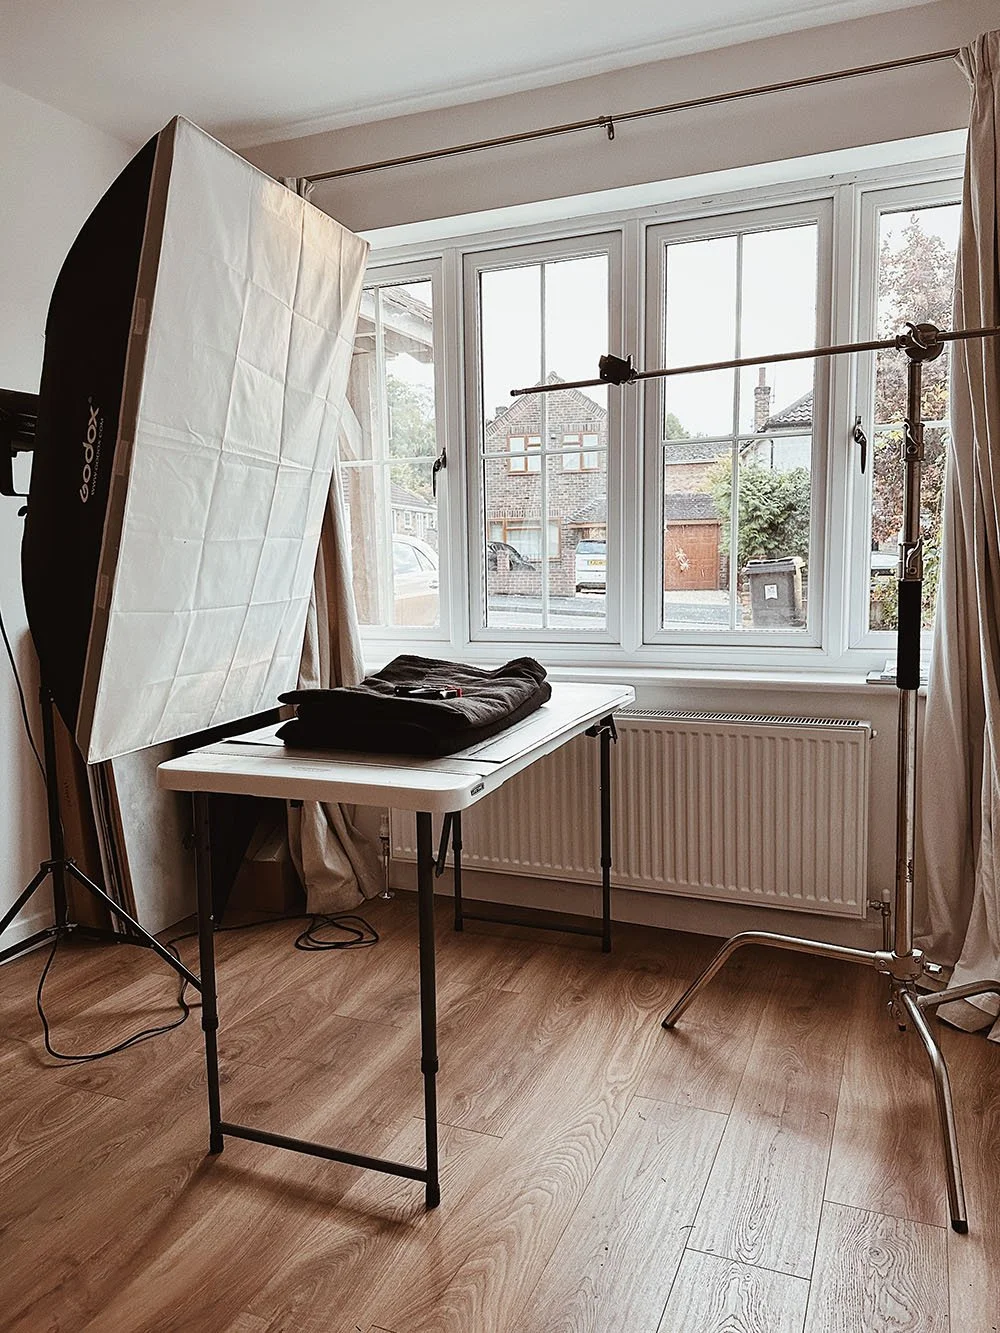
Why diffusion matters
One of the biggest differences between a cheap-looking lighting setup and a more polished one is often the quality of the light, rather than simply how bright it is. A small, bare light source can create hard shadows and strong highlights. Making the light source appear larger and softer can create a much more flattering result. This is where things like softboxes and diffusion come in. A softbox sits between your light and your subject and spreads the light over a larger area, helping to create softer shadows.
Browse softboxes and light modifiers
You can also experiment with inexpensive diffusion materials rather than immediately building a professional studio setup. The important thing is to understand why you're diffusing the light. That's something I cover in much more depth inside The Motion Method, because simply knowing what equipment to buy isn't the same as knowing how to use it.
Don't forget about your shadows
Here's something that can be easy to overlook: good lighting isn't just about the light. It's also about the shadows. Shadows help create depth, shape and dimension. Completely eliminating every shadow from your scene can actually make your food look flat.
Instead, start paying attention to:
Where the shadows are falling
How dark they are
Whether they're adding depth or distracting from your subject
How changing the position of your light changes them
This is where a simple reflector can be useful. A white reflector can bounce some light back into your scene and gently lift darker areas without requiring another light.
You can also use things you already have at home to experiment with bouncing or blocking light. Before buying more kit, play with the light you already have.
Natural and artificial light can work together
You don't necessarily have to choose between natural and artificial lighting. There are situations where combining the two can work beautifully. For example, you might use natural light as your main source and a small amount of additional light to lift shadows. Or you might use artificial lighting as your main source while controlling the amount of daylight entering the room. The important thing is consistency. If you're mixing different types of light, be aware that they may have different colour temperatures. This can make your food look strange or create different colours across your scene. If you're serious about creating consistent food content, controlling your environment becomes increasingly important.

The biggest lighting mistake I see content creators make
It's easy to think that the answer to bad lighting is more equipment.
A bigger light.
Another light.
A new softbox.
A reflector.
A different camera.
And before you know it, you've spent hundreds of pounds and your content still doesn't look the way you imagined.
The problem usually isn't the lack of equipment.
It's the lack of understanding.
Once you understand things like light direction, quality, intensity, diffusion and how they affect your subject, you can start making deliberate decisions rather than randomly moving your lights around.
And that's the difference between simply having a lighting setup and actually knowing how to light your content.

Want to take your food videos further?
If you're ready to go beyond the basics and learn how to create food videos that feel intentional, polished and professional, that's exactly why I created The Motion Method.
It's my Food Videography and Reels Course for beginner and intermediate content creators who want to understand the fundamentals behind creating beautiful, engaging video content, from lighting and styling through to shooting, editing and creating content that actually stops the scroll.
You'll learn how to work with the equipment you already own, whether that's an iPhone or a DSLR/mirrorless camera, rather than feeling like you need to invest in a huge amount of kit first.
And if you're looking for something more bite-sized to help you plan and create better food videos, you can also take a look at The Motion Tool Kit.
It's packed with my favourite shots, transitions, composition and framing tips, plus ideas for ASMR, audio, sound effects and editing scenarios to help you create polished videos without starting from scratch.
